The Four O'Clock Lamp: How to Light Budget Prints Through a British Winter

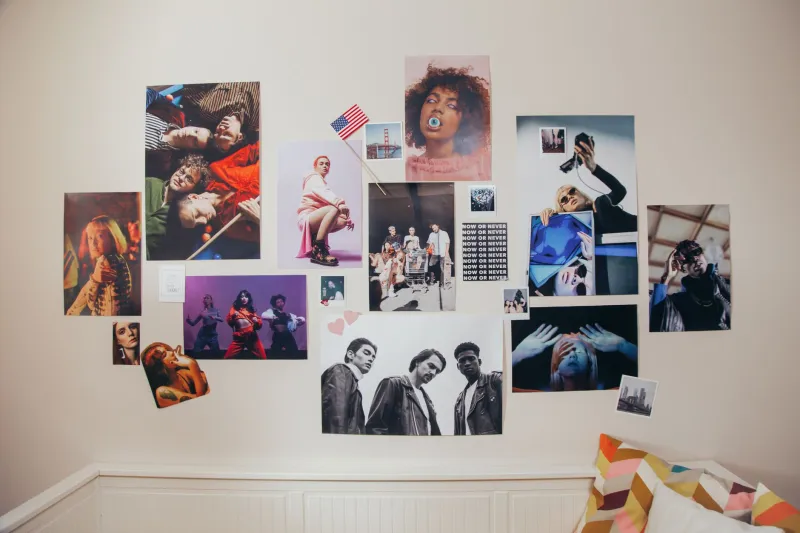
Photo: warm LED picture light above framed gig poster in dark British living room, via static1.squarespace.com
By the time the clocks go back, plenty of British walls get a raw deal. You spent ages choosing a gig print or a film poster, paid for a decent frame, found the one square metre of wall that wasn’t already spoken for — and then November arrives and the whole thing turns into a grey rectangle by four o’clock. The print hasn’t changed. The room has. And the ceiling light, doing its usual impression of a supermarket aisle, is not helping.
This is not a piece about buying better art. It’s about the cheapest upgrade most print owners never make: aiming a small, deliberate light at the paper instead of flooding the room and hoping for the best.
The print isn’t the problem; the overhead light is
A single pendant in the middle of a ceiling is designed to stop you walking into furniture. It is not designed to make a £30 A3 print look like something you’d actually stop to look at. Overhead light flattens colour, throws shadows from the frame and turns glazed prints into mirrors. In a rented flat with a white ceiling and a landlord-special light fitting, the effect is basically anti-art.
The fix is not a brighter bulb. It’s a smaller, better-aimed one. One lamp dedicated to one print will do more for your wall than doubling the wattage above your head. Think of it as stage lighting for a very small, very stationary performer.
One lamp, one job
You don’t need a museum rig. For most homes, a simple LED picture light, a rechargeable spot, a clamp lamp or even an adjustable desk lamp pointed at the wall will do the job. The important bit is control: you want to aim the beam, not just add more glow to the room.
For an A3 or A2 print, start with the light about 30–40cm above the top edge of the frame and angle it down at roughly 30–45 degrees. That angle skims across the surface rather than blasting straight into it, which cuts glare and brings out the texture of the paper. If the print is behind glass, angle it slightly more to one side. You’ll see the reflection move out of the way.
Picture lights that sit directly above the frame look smart, but they can be fussy to install. In a rental, a rechargeable LED picture light stuck on with a decent adhesive strip is often the whole answer. Check the weight limit, clean the wall first, and don’t trust a £3 hook with a £60 lamp. A plug-in spot on a shelf or a clamp lamp on a bookcase is less tidy but more flexible, and flexibility matters when you’re lighting a small flat.
Warm, cool and the colour of ‘cosy’
Bulb colour is where a lot of affordable print lighting goes wrong. Too cool and your living room starts to feel like a dental clinic. Too warm and a black-and-white film still looks like it’s been left in a chip shop window.
As a rough guide: 2700K is warm and flattering for living rooms, 3000K is a neutral middle ground for hallways and mixed spaces, and 4000K is crisp and clean — good for a studio or a desk wall, less good above a sofa. Look for a CRI of 90 or above if the packaging tells you. Higher CRI means colours look closer to how they should. A cheap LED with poor colour rendering can make a carefully chosen print look muddy, and no amount of styling will fix that.
If you can dim it, even better. A dimmable warm LED at 60% is often the sweet spot for evening. Also avoid mixing a warm ceiling bulb with a cool picture light in the same sightline. Pick a temperature and commit, or the wall will look like two different rooms arguing.
Renter rules: no holes, no drama
Renting doesn’t mean living with bad lighting. It means being clever about how you attach things. Adhesive picture hooks, cable clips and removable strips have improved enormously, and a lightweight rechargeable lamp is often the least invasive option of all. Keep the cable tidy with a slim trunking strip if you’re plugging something in; trailing wires make even a lovely print look like a temporary fix.
Avoid anything that needs a wall cavity or a drill unless you have permission. And if you’re using adhesive strips, follow the instructions properly — clean wall, firm pressure, time to set. The classic rental mistake is sticking a lamp to slightly damp paint in a cold hallway and wondering why it gives up in February.
Glare, fading and the boring bits that matter
Two practical risks deserve a mention. The first is glare. If you can see the bulb reflected in the glass from your sofa, move the light or change the angle. You want the print lit, not the frame performing a second-rate lighthouse impression.
The second is fading. Direct sun is the main culprit, and a south-facing window can do more damage than a lamp ever will. Keep prints out of strong daylight where you can, and avoid halogen or old-style hot bulbs near paper. Modern LEDs run cool and emit very little UV, which makes them the sensible choice for affordable art. Don’t hang prints above radiators either; heat and dryness are not kind to paper or frames.
A quick test: turn off the main light, shine your phone torch across the print from the side, and watch what happens. If the colours wake up, you’ve found your angle. If the glass turns into a mirror, shift the torch. It takes two minutes and saves buying the wrong lamp.
Three rooms, three small plans
In a hallway, go narrow and rechargeable. A small battery picture light above a single gig print means no socket, no cable and no drilling. Put it on a timer if you can, or just click it on when you come in.
In a studio or desk corner, use a clamp lamp bounced off the wall rather than aimed straight at the print. That gives you a soft wash of light and keeps the desk usable. If you’re on video calls all day, angle it away from your screen.
In a rented living room, a floor lamp with an adjustable head is the quiet hero. Point it at the print from the side, keep the ceiling light low, and suddenly the wall has a focal point that isn’t the telly.
The winter reset
Before you buy anything, do the four o’clock test: at roughly 4pm, turn off the overhead light, hold a lamp or phone torch at the angle you’re considering, and see whether the print comes alive. If it does, buy the cheapest lamp that recreates that angle. If it doesn’t, move the print. Sometimes the wall is the problem, not the lighting.
Good wall art doesn’t need a big budget. It needs a bit of aim. This winter, let the room go dim and give the print its own small patch of light. It’s a far cheaper upgrade than a new frame, and it makes the dark afternoons feel deliberate rather than just dark.